
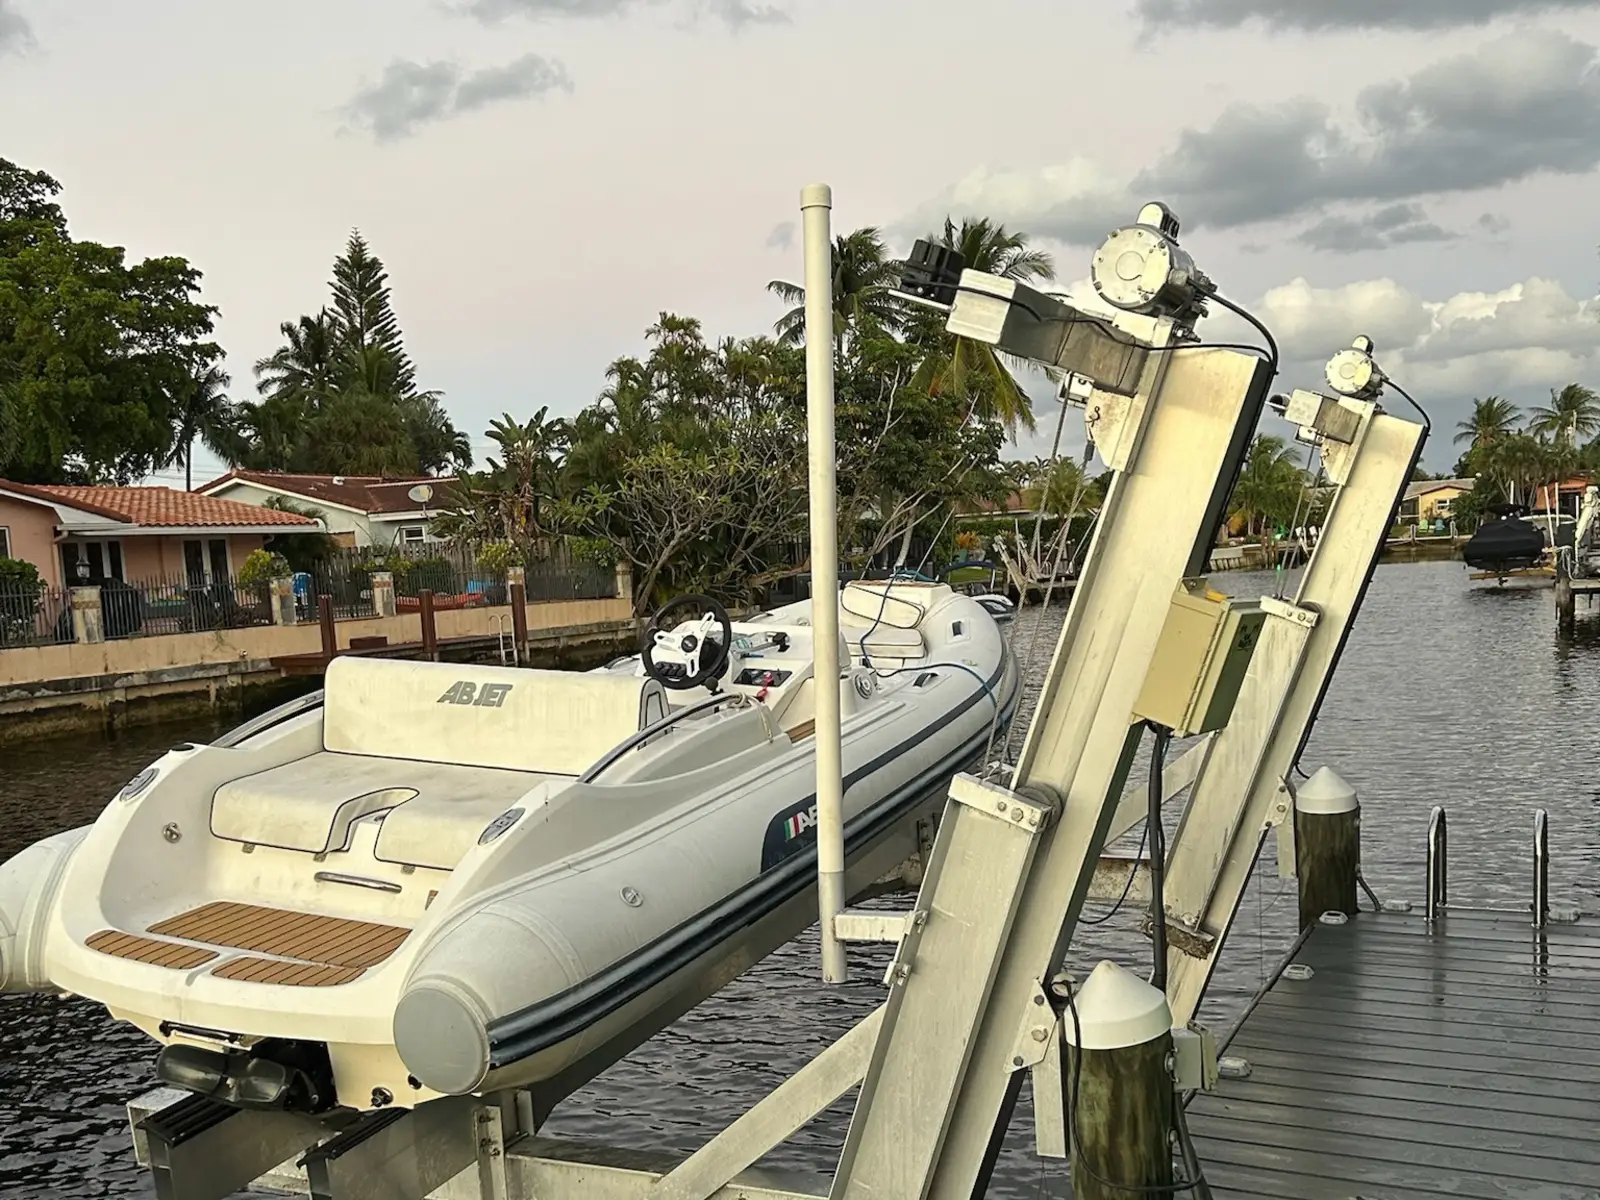
A boat lift on a South Florida canal works in some of the harshest conditions any machine sees: salt spray every day, tides wetting the lower frame twice a day, summer heat, lightning season, and hurricanes. Most lift failures do not happen suddenly — they build up over months while a cable corrodes or a sheave stops turning.
The good news is that boat lift maintenance is not complicated. It is a short owner routine, a few deeper checks through the year, and one professional service. This guide lays out that schedule, explains what each check is looking for, and draws the line between what you can do from the dock and what belongs to a technician. Your lift’s owner’s manual always wins where it is more specific — manufacturers such as Hi-Tide publish owner’s manuals for each model — but the pattern below applies to almost every elevator and four-post lift we see in Broward and Palm Beach County.
Why salt water changes the maintenance schedule
A lift in fresh water can go a long time between services. A lift on a tidal canal cannot. Salt crystals dry onto cables and hardware and keep pulling moisture back in, which is why corrosion shows up first on the parts that are both wet and under load: the lift cables, the sheaves and bearings they run over, the fasteners that hold the cradle together, and the electrical connections in and around the control box.
Marine-grade aluminum frames hold up far better in salt water than galvanized steel, which is why aluminum is the standard choice on tidal canals. But the frame is only the skeleton. Cables, motors, gearboxes, switches, and bunks are wear parts, and the schedule exists to replace them on your timeline instead of the lift’s. For a deeper look at how salt water affects lift selection and lifespan, see our saltwater boat lift guide.
Every time you use the lift
The most valuable inspection takes thirty seconds and happens while the lift is running. Watch and listen as the boat comes up:
- Does the cradle rise level? One corner lagging, or the boat tilting as it lifts, usually points to a stretched or slipping cable or a drive problem on one side.
- Are the cables winding neatly? Cable should lay onto the drum evenly without crossing over itself or piling up at one end.
- Any new noises? Grinding, squealing, clicking, or a motor that sounds strained is worth noting the same day.
- Is the boat centered on the bunks? A hull sitting off-center loads one side of the lift harder than the other.
After use — and especially after a weekend of heavy use — rinse the cables, sheaves, and cradle with fresh water. Hi-Tide’s maintenance FAQ recommends rinsing the cable regularly with fresh water and following up with a corrosion-preventative spray. Keep the hose away from the motor housings and control box.
Monthly owner checklist
Once a month, walk the lift with the boat down and look closely. Neptune Boat Lifts’ boat lift maintenance guide recommends a basic owner inspection at least monthly, covering:
- Cables: fraying, broken strands, corrosion, flattening, kinks, or loose cable ends.
- Pulleys and sheaves: they should turn freely, not drag or wobble.
- Electrical: switches, control boxes, remotes, and visible wiring.
- Structure: corrosion, cracks, loose bolts, or damaged brackets on the frame and cradle.
- Bunks and guide poles: alignment, worn carpet or bunk boards, and bent poles.
- Sacrificial anodes: how much of each zinc or aluminum anode is left.
Take a photo of the cables and the anodes each month. Comparing this month’s photo with last quarter’s is the easiest way to spot slow changes you would otherwise miss.
Every few months: grease, anodes, and limit switches
The deeper checks are where intervals vary by manufacturer, so read your manual. Hi-Tide recommends lubricating all the grease fittings on the bearings and pulleys every six months; Neptune’s guide lists greasing, along with these checks, as quarterly work:
- Grease the fittings on sheaves, bearings, and other moving hardware with a waterproof marine grease. Avoid greasing electrical parts or any surface the manual does not call for.
- Inspect pulley bolts, axles, and bearings for wear and corrosion.
- Replace anodes before they are consumed. An anode that is mostly gone is no longer protecting the aluminum around it.
- Test limit switches and auto-stops, if your lift has them, so the cradle stops where it should at the top and bottom of travel.
- Watch for cable tracking problems such as uneven winding or the cable riding up out of a sheave groove.
On a lift that is used several times a week, or one exposed to strong current or boat wakes, the shorter interval is the safer choice.
The annual professional service
At least once a year the lift should get a complete inspection by someone who works on lifts every day. Neptune’s guide describes the annual inspection as covering the full cable system, structural hardware, motor and gearbox operation, the electrical system, bunk alignment, pulleys and bearings, anodes, corrosion protection, leveling, and a review of the service records. Our boat lift repair and maintenance service follows the same scope and load-tests the lift with the boat on it before we leave.
The annual visit is also when cables are replaced on schedule. Hi-Tide’s guidance is that all cables should be replaced every five years; in constant salt-water service, galvanized cable often needs replacing much sooner. Either way, a cable showing broken strands, birdcaging, or heavy rust gets replaced immediately, whatever its age. If you are budgeting for upkeep as part of a new lift, our boat lift cost guide covers what the lift and its ongoing care involve.
Electrical problems: stop and call
The motor and controls are where wet environments and electricity meet, so electrical warning signs are a reason to stop using the lift, not to keep testing it. Neptune’s guide says not to operate the lift if you notice damaged wiring, exposed electrical components, tripped breakers, moisture inside the control box, a burning smell, intermittent motor operation, or a failing switch or remote.
Power supply matters too. Hi-Tide’s FAQ states that the number one reason for damaged motors and switches is an inadequate 110V supply, and that boat lifts should not be run on extension cords. If your lift was wired years ago, or the motors have been upgraded since, have a qualified electrician confirm the circuit matches what the lift requires.
Don’t overload the lift
Maintenance cannot make up for a lift that is working above its rating. The load on the cradle is not the boat’s brochure dry weight; it includes fuel, water, batteries, engines, gear, and any rainwater sitting in the hull. Neptune’s guide specifically warns that water accumulating in the boat adds weight, so keep the bilge pump working, use a cover, or pull the drain plug while the boat is up. If you are not sure your lift is sized for the boat you have now, our boat lift sizing guide walks through the math.
Before and after a hurricane
Hurricane prep starts months ahead: schedule the annual service before the season so cables, fasteners, and the drive are not going into a storm already worn. When a storm threatens, the manufacturer guidance is consistent. Hi-Tide’s FAQ says the best solution is to remove the boat from the lift and store it on dry land, because no lift is hurricane-proof and power may be out when you need to lower the boat afterward. Neptune’s hurricane preparation guide likewise recommends clearing loose items, deciding early whether the boat stays or goes, turning off power to the lift, and scheduling a post-storm inspection.
If the boat has to stay on the lift, Hi-Tide’s steps include raising it as high as possible without double-wrapping the cable past the winding area, securing the boat to the lifter beams and the beams to the pilings, turning off power at the breaker, removing the motors and controls if possible, stripping loose gear, and making sure rain can drain. The reason height matters is storm surge — the National Hurricane Center explains how onshore winds push water up and inland as a storm reaches shallow coastal water.
After the storm, do not run the lift until you have looked it over. Check for shifted hardware, damaged cables, a boat that moved on the bunks, debris tangled in the lift, and any sign of electrical damage. If anything looks out of place, have it inspected first. Our marine inspections cover the lift, dock, pilings, and seawall together, which matters because storm damage rarely stops at one structure.
Keep a simple service log
A notebook or a note on your phone is enough. Record the date, what was checked or greased, which parts were replaced, and who did the work. A log tells the next technician what has already been done, makes cable and anode replacement predictable, and gives you records if a warranty question ever comes up — Neptune’s guide notes that its warranty requires routine maintenance to be performed and documented by the owner.
If your lift is overdue for service, has started making new noises, or you are not sure when the cables were last changed, South Florida Seawall services lifts across Broward and Palm Beach County. Send a few photos of the lift and the cables through our contact page or call 754-SEA-WALL and we will tell you what we see and what it needs.