
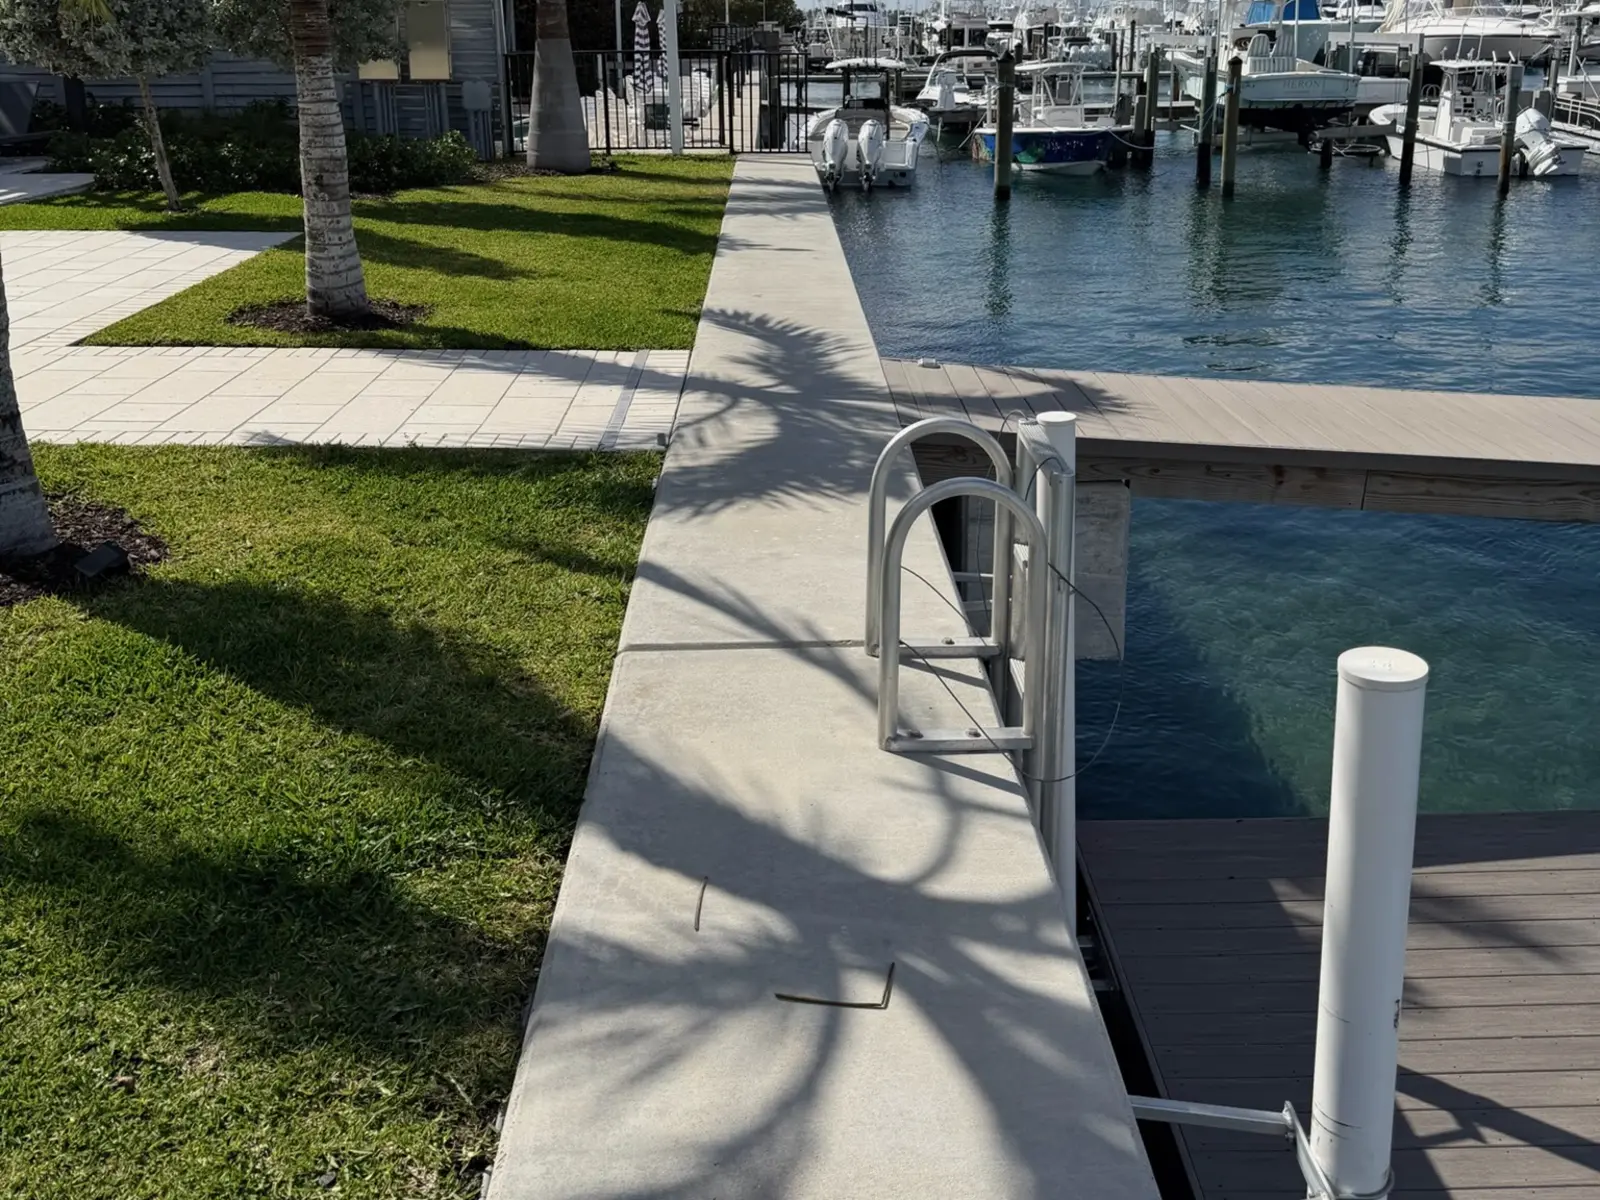
A seawall rarely fails all at once. It usually starts with a clogged weep hole, a joint that opens a little, or a small dip in the lawn behind the cap, and it grows quietly for months or years before anyone treats it as a problem. By then the fix is usually a lot bigger than it needed to be.
Seawall maintenance is how you catch those problems while they are still small. Most of it is observation: a regular walk along the wall, a few habits that keep water draining, and a professional inspection once a year. This checklist is written for owners on the canals and Intracoastal frontage of Broward and Palm Beach County, and it explains what each check is looking for so you know what you are seeing.
How a seawall works, and what wears out
It helps to know the parts. The City of Holmes Beach seawall manual, one of the clearest owner guides published by a Florida city, describes a typical residential wall as a row of panels (concrete, vinyl, metal, or other materials) that are not watertight on their own, tied together by a concrete cap. Tieback rods run from the wall back to buried anchors called deadmen, and those tiebacks are what keep the wall standing upright against the weight of the soil behind it. At the bottom, the panels are driven into the canal bed, and the soil or berm in front of that toe keeps the base from kicking out.
Seawalls are also designed to drain. Weep holes let water that collects behind the panels escape, and many walls have a gravel-filled French drain behind the cap for the same reason: to relieve hydrostatic pressure, the push of trapped water on the land side when the tide drops. Nearly every item on the checklist below protects one of these parts: the panels and joints, the cap, the tiebacks, the toe, or the drainage.
Why South Florida walls need closer attention
Our walls work harder than most. Salt water reaches the steel inside concrete through cracks and porous surfaces, and once reinforcing steel corrodes it expands and breaks the concrete around it. Tides cycle the water level against the wall twice a day, and boat wakes scour the toe. NOAA notes that high tide flooding has become increasingly common along the coast, especially on the East Coast, because of rising sea levels, sinking land, and the loss of natural barriers, which means more days each year when the highest tides test the joints and the top of the cap. And in hurricane season, the National Hurricane Center describes how storm surge pushes water up and inland as a storm reaches shallow coastal water, the moment a weakened wall is most likely to give.
The monthly owner walk
Once a month, and after any king tide, heavy rain, or storm, walk the full length of the wall. Low tide is the best time, because more of the panels and the toe are exposed. Take photos from the same spots each time; comparing them is the easiest way to see slow change.
- The ground behind the wall. Look for sinkholes, soft spots, sunken pavers, or a strip of lawn that keeps settling. Soil that disappears from behind the cap is going somewhere, usually out through a joint.
- The canal bottom in front of the wall. Mounds of sand, rock, or fill on the bottom near a joint, most visible at low tide, are a classic sign that backfill is washing through the wall.
- Joints and seams. Gaps between panels that are wider than last time, or water flowing through a joint as the tide goes out.
- The cap. Cracks, spalling, exposed or rusting steel, or a cap that is starting to tilt toward the water or pull away from the yard.
- The panels. Horizontal cracks near the waterline, rust stains bleeding out of cracks, or a wall line that looks wavy, sagging, or leaning instead of straight.
- Weep holes and drains. Openings that are packed with sand or soil and no longer drain after rain or a falling tide.
Keep the wall draining
Drainage is the one area where owners can do real preventive maintenance themselves. The Holmes Beach manual calls the pressure difference between the land side and the water side one of the major causes of seawall damage, and its advice for extending the life of a wall is mostly about managing water and load:
- Keep weep holes open. They clog with sand and soil over time, which reduces how much water can escape.
- Maintain the French drain. Gravel drains need replenishing with rock to keep working and to keep soil from washing through.
- Redirect sprinklers and runoff. Adjust sprinkler heads near the wall so they are not soaking the soil behind it, and route roof and yard drainage so it does not pond behind the cap.
- Watch where stormwater pipes pass through the wall. The framing around a drain pipe is a common weak point and is worth checking every time you walk the wall.
- Keep heavy loads back. Avoid planting large trees right beside the wall and avoid driving heavy equipment along the cap, both of which add pressure behind it.
If you are filling small depressions behind the wall, treat it as a stopgap and note where they keep coming back. A spot that needs fill again a few months later is losing soil through the wall, and our guide to erosion behind a seawall explains how that is repaired properly.
What the warning signs usually mean
The Holmes Beach manual groups common seawall failures by their symptoms, which makes it a useful translation guide for what you notice on your walk:
- Sinkholes and backfill mounds at the joints usually point to slab or panel joint separation, which lets soil migrate through the wall. Typical remedies include sealing seams, adding filter fabric, restoring drainage, and supplemental tiebacks.
- A deteriorating cap with wavy or sagging panels can point to tieback failure from corroded rods or movement of the structure. Fixes range from new tiebacks and a waler to supplemental helical tiebacks.
- A cap that rotates or cracks, with a gap opening behind it can mean the toe of the wall is moving out toward the water from scour or too little embedment, the kind of problem toe protection such as riprap is often used to address.
- Horizontal cracks near the waterline with rust marks often mean corroding reinforcement inside the panels or excess hydrostatic pressure behind them.
Cap damage on its own is common, and catching it early often means repair instead of replacement; our seawall cap repair guide covers when a cap can be patched and when it needs to be rebuilt. Whatever the symptom, the cause needs to be diagnosed before anything is patched, because sealing a crack without fixing the pressure or the tieback behind it rarely lasts.
The annual professional inspection
Once a year, have the wall inspected by someone who looks at seawalls every week. A professional inspection goes beyond what is visible from the yard: the condition of the cap and panels along the whole run, joint and drainage performance, signs of tieback or deadman trouble, and the toe and canal bottom in front of the wall, along with the dock, pilings, and any boat lift attached to or near it. Our seawall inspections document what we find with photos so you have a baseline to compare against next year, and a written record is also useful when you sell or refinance a waterfront home.
The best time for that inspection is before hurricane season, so any joint or cap repairs are done before the highest tides and storm surge of the year. After any storm that brings surge or high water into your canal, walk the wall again before you put weight on the area behind it, and call for an inspection if anything has shifted.
Maintenance, repair, and permits
Clearing weep holes and topping up a little lost fill is routine upkeep. Structural work on the wall itself is regulated. At the state level, Florida law exempts the restoration of seawalls at their previous locations, or upland of or within 18 inches waterward of their previous locations, from certain environmental permitting (Florida Statutes § 403.813), and the state’s environmental resource permitting rules list additional exempt activities for seawall repair, replacement, and restoration, including work in artificially created waterways (Rule 62-330.051, F.A.C.). Those exemptions come with conditions, and they do not replace a local building permit, which your city or county will usually still require for structural seawall work. Whether a given job qualifies is something your contractor should confirm for your address rather than assume.
Many local codes also make the property owner responsible for keeping the wall in good repair. The Holmes Beach code quoted in its manual, for example, makes the owner responsible for the wall, tiebacks, caps, deadmen, and the joints between panels. Check your own city’s rules, but assume the wall on your property is your responsibility, including the damage it can do to a neighbor’s wall if it fails.
What maintenance saves
Maintenance does not make a seawall last forever, but it changes the timing and the size of the bill. A cracked cap or an open joint found early is usually a targeted repair. The same problem found after years of soil loss can mean rebuilding the cap, replacing tiebacks, or replacing the wall. Our seawall cost guide explains what drives the price of repair versus replacement in South Florida, so you can see why catching problems early matters.
Keep a simple seawall log
Keep a note on your phone or a page in a folder: the date of each walk, photos of the same spots, anything new you noticed, when weep holes were cleared or fill was added, and every inspection and repair with the contractor’s name. A log makes slow changes obvious, tells the next inspector what has already been done, and gives you records if you ever need them for a sale, an insurance claim, or a code question.
If your wall is showing any of the warning signs above, or it has simply been a while since anyone looked at it closely, South Florida Seawall inspects and repairs seawalls across Broward and Palm Beach County. Send a few photos of the cap, the joints, and the ground behind the wall, or call 754-SEA-WALL, and we will tell you what we see and whether it needs attention now.
Sources
- City of Holmes Beach — Seawall Manual (components, failure symptoms, maximizing the life of your seawall)
- Florida Statutes § 403.813 — Permits issued at district centers; exceptions
- Florida Administrative Code Rule 62-330.051 — Exempt Activities (Environmental Resource Permitting)
- NOAA Ocean Service — What is high tide flooding?
- NOAA National Hurricane Center — Storm Surge Overview